Introduction
Home renovations are exciting—they mark the beginning of something new, better, and more functional. Whether you’re remodeling a kitchen, repainting walls, or upgrading your entire living space, one common challenge pops up: Where do you put your stuff during all the chaos?
Paint splatters, dust, noise, and constant movement can damage your valuables if they’re not stored properly. Renovation projects need more than a vision—they need planning, especially when it comes to protecting what you already own.
Here’s a guide to what to pack, how to pack it, and where to store your belongings during a home renovation.
What to Pack First
Not everything needs to be removed—but you do need to prioritize.
Pack These Items:
Fragile and Breakable Items
Glassware, ceramics, photo frames, and mirrors should be the first to go. Even minor bumps or vibrations during renovation can damage them.
Electronics
TVs, speakers, computers, and kitchen appliances should be unplugged, dust-protected, and stored in dry, safe places.
Furniture
Tables, chairs, sideboards, and beds that are not in use or are in renovation zones should be packed or moved.
Decor
Paintings, wall hangings, carpets, artificial plants, clocks, and vases need to be packed to prevent dust buildup or accidental damage.
Seasonal Items
Out-of-season clothing, blankets, woolens, or festival décor can easily be stored offsite.
Important Documents
Store financial records, IDs, and personal documents in waterproof folders—either with you or in a secure offsite location.
Jewelry & Valuables
These should never be left in the house during heavy renovation. Store them in a locker or a trusted storage facility.
Don’t Pack These:
Basic toiletries and everyday essentials.
One week’s worth of clothes.
Medications, kitchen basics, and baby/pet care items.
How to Pack Properly
Smart Packing Tips:
Label Every Box: Use waterproof markers and label both sides.
Use Triple-Layer Packing: Especially for electronics, crockery, and decor.
Clear Boxes for Daily-Use Items: So you can find things easily when needed.
Vacuum Seal Clothes and Bedding: Saves space and protects against dust.
Wrap Furniture with Bubble Wrap or Sheets: Pay attention to corners and fragile legs.
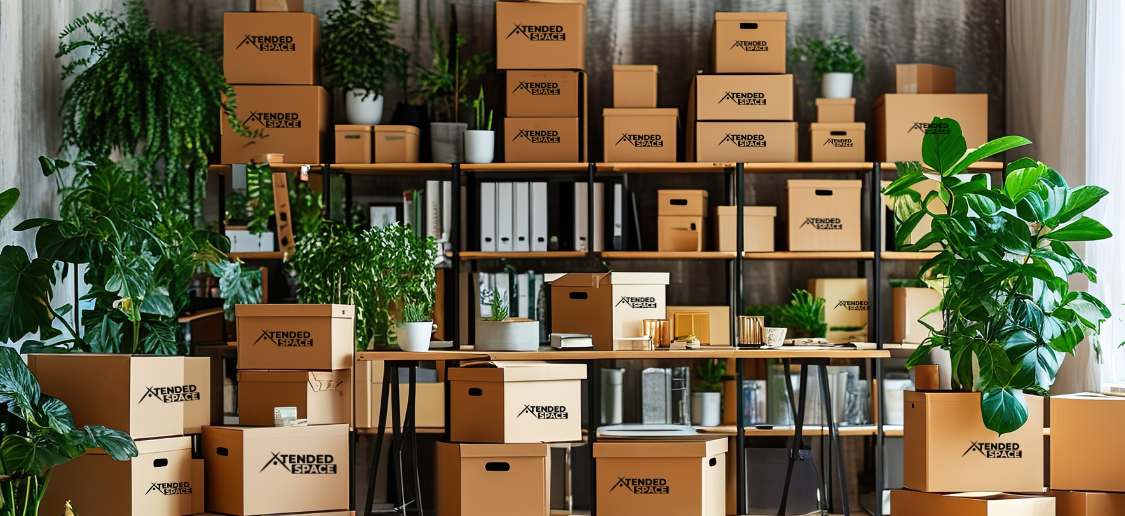
For a worry-free solution, consider Xtended Space, which offers professional packing services, carrying all materials and handling your goods with care.
Where to Store Your Belongings
You have several options, depending on how long your renovation will last and how much space you have:
- Room-to-Room Movement
If the renovation is staggered, shift packed items into rooms that are not under construction. While this can save money, it creates clutter and risks accidental damage.
- Friends or Family Homes
Another low-cost option, but only practical if you have few items and your relatives have extra space. It may not work for larger furniture or appliances.
- Offsite Storage Units
This is the most efficient and safest choice. Services like Xtended Space offer:
Doorstep pickup
Professional packing
Barcode-tagged inventory
24×7 monitored storage units
Flexible monthly plans
Delivery of items back when renovation ends
This removes stress from your renovation timeline and helps you work around a dust-free, organized space.
Extra Tips During Renovation
- Take photos of your packed boxes and furniture—helps with organization and insurance.
- Place frequently used items in an “Essentials Box.”
- Leave space for contractors to move freely—don’t crowd up corners with furniture.
- Use renovation time to declutter. Donate, recycle, or store items you don’t use often.
Real Scenario
Nikita and her husband recently renovated their 2BHK apartment in Mumbai. “We never realized how much space our belongings consumed until we had to move them for the renovation,” she said. “Xtended Space handled the pickup, packed everything professionally, and delivered it back when the house was ready. It made the whole process so smooth.”
Final Thoughts
Renovations can transform your space—but protecting your belongings is equally important. The last thing you want during a home makeover is a cracked TV screen, broken crockery, or dust-covered clothing.
With the right planning, packing, and offsite storage support, your renovation journey can be smooth, safe, and clutter-free. Whether you need storage for a few weeks or a few months, Xtended Space offers doorstep convenience, peace of mind, and smart storage that keeps up with your lifestyle.
FAQs About Storage During Home Renovation
Q1. How early should I pack before renovation begins?
Ans: Start packing non-essential items at least 7–10 days before renovation begins. It gives you time to sort, donate, and box everything properly.
Q2. Is it safe to store electronics in storage units?
Ans: Yes. Xtended Space offers climate-controlled storage zones designed specifically for delicate items like electronics, books, and musical instruments.
Q3. How do I keep my belongings dust-free?
Ans: Use sealed boxes, bubble wrap, shrink film, or vacuum-sealed bags. Even better, use professional storage facilities where dust and moisture protection is guaranteed.
Q4. Can I store bulky furniture like beds and sofas?
Ans: Absolutely. Storage services like Xtended Space handle everything from packing to transport to secure storage, including oversized items.
Q5. Is storage expensive?
Ans: Not really. You only pay for the space you use. Many services offer pocket-friendly plans based on size and duration. In the long run, it saves you from repair or replacement costs due to damage.


